Can You Paint Bathroom Tile? Your Complete DIY Guide
Tired of outdated bathroom tiles but dreading the cost of a full renovation? You’re not alone. Many homeowners wonder if they can simply paint over their existing bathroom tiles to achieve a fresh, modern look. The good news? Yes, you absolutely can paint bathroom tiles – and it’s easier than you might think.
Painting bathroom tiles has become increasingly popular as a budget-friendly alternative to expensive tile replacement. This DIY bathroom tile painting project can transform your space for a fraction of the cost, giving you the bathroom makeover you’ve been dreaming of without breaking the bank.
In this comprehensive tile painting guide, you’ll discover everything you need to know about painting bathroom tiles, from choosing the right materials to maintaining your newly painted surfaces. Let’s dive into this game-changing home improvement technique.
Why Paint Your Bathroom Tiles?
Before we explore the how-to process, let’s examine why painting bathroom tiles makes sense for many homeowners.
Cost-Effective Bathroom Renovation
Traditional tile removal and replacement can cost thousands of dollars. Painting bathroom tiles typically costs under $200 for most standard bathrooms, making it an incredibly budget-friendly option. You’ll save on both materials and labor costs since this is a perfect weekend DIY project.
Quick Transformation
While tile replacement can take weeks and create significant disruption, a bathroom tile makeover through painting can be completed in just a few days. You’ll have your bathroom back to full functionality quickly while enjoying a completely refreshed look.
Endless Design Possibilities
Paint offers unlimited color and finish options that might not be available in traditional tiles. You can create custom looks, experiment with trendy colors, or match existing décor perfectly.
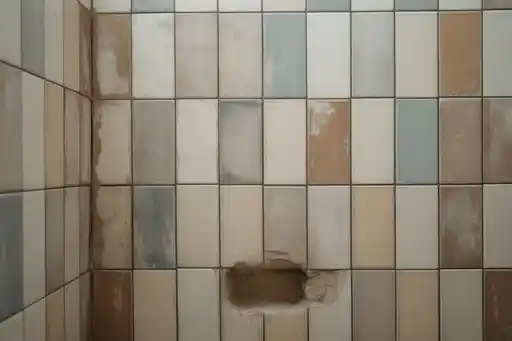
What Types of Tiles Can You Paint?
Not all bathroom tiles are created equal when it comes to painting. Understanding which surfaces work best will ensure your project’s success.
Ceramic and Porcelain Tiles
These are the most paint-friendly options. Ceramic and porcelain tiles have surfaces that, when properly prepared, accept paint beautifully. Most bathroom walls feature these tile types, making them ideal candidates for DIY bathroom tile painting projects.
Natural Stone Tiles
Marble, granite, and other natural stone tiles can be painted, but they require extra preparation. These surfaces are often more porous and may need special primers to ensure proper paint adhesion.
Glass Tiles
Glass tiles present unique challenges due to their non-porous, slick surface. While possible to paint, they require specialized primers and techniques for successful results.
Textured or Heavily Grooved Tiles
Tiles with significant texture or deep grooves can be painted, but the process requires more attention to detail. You’ll need to work paint into all crevices for complete coverage.
Pros and Cons of Painting Bathroom Tiles
Like any home improvement project, painting bathroom tiles has both advantages and limitations.
Advantages
Budget-Friendly: Costs significantly less than tile replacement
Quick Results: Complete transformation in days, not weeks
DIY-Friendly: No special skills or expensive tools required
Reversible: Can be painted over again or eventually removed
Moisture Resistant: Modern tile paints handle bathroom humidity well
Custom Colors: Unlimited color options for perfect design matches
Potential Drawbacks
Durability Concerns: Paint may chip or wear over time with heavy use
Texture Changes: Painted tiles feel different from original ceramic
Preparation Requirements: Surface prep is crucial for lasting results
Limited Lifespan: May need touch-ups or repainting every 3-5 years
Grout Challenges: Grout lines require special attention and products
Essential Materials and Tools
Success in painting bathroom tiles starts with having the right supplies. Here’s your complete shopping list:
Paints and Primers
Bonding Primer: Essential for proper paint adhesion to tile surfaces
Epoxy Paint: Best choice for durability and moisture resistance
Acrylic Paint: Alternative option, though less durable than epoxy
Grout Paint: Specialized paint for refreshing grout lines
Preparation Supplies
TSP (Trisodium Phosphate) Cleaner: For thorough surface cleaning
Fine-Grit Sandpaper (220-grit): For surface roughening
Painter’s Tape: High-quality tape for clean lines
Drop Cloths: Protect surrounding surfaces
Rubber Gloves: Protect hands during cleaning and painting
Application Tools
Foam Rollers: Provide smooth, even coverage on flat surfaces
Angled Brushes: Perfect for cutting in edges and detail work
Paint Trays: For efficient paint application
Ventilation Fan: Ensure proper air circulation
Step-by-Step Tile Painting Process
Follow this detailed process for professional-looking results in your bathroom tile makeover.
Phase 1: Preparation (Most Important Step)
Clean Thoroughly: Remove all soap residue, grime, and mildew using TSP cleaner. Pay special attention to grout lines where buildup commonly occurs.
Sand Lightly: Use 220-grit sandpaper to lightly roughen the tile surface. This creates better paint adhesion without damaging the tile.
Remove Caulk: Old caulk around tubs and showers should be completely removed and replaced after painting.
Mask Areas: Use high-quality painter’s tape to protect fixtures, walls, and areas you don’t want painted.
Phase 2: Priming
Apply Bonding Primer: Use a bonding primer specifically designed for slick surfaces. Apply thin, even coats with a foam roller.
Pay Attention to Edges: Use an angled brush for precise primer application around fixtures and in corners.
Allow Proper Drying: Follow manufacturer’s drying time recommendations completely. Rushing this step compromises the entire project.
Phase 3: Painting
First Coat Application: Apply paint in thin, even coats using a foam roller. Avoid heavy application that can cause drips or uneven texture.
Cut In Edges: Use an angled brush for precise application around fixtures and edges.
Second Coat: After the first coat dries completely, apply a second coat for optimal coverage and durability.
Phase 4: Grout Treatment
Clean Grout Lines: Ensure grout is completely clean before applying grout paint.
Apply Grout Paint: Use a small brush to carefully paint grout lines. This step requires patience but dramatically improves the final appearance.
Seal if Necessary: Some grout paints require sealing for maximum durability.
Maintenance and Longevity Tips
Proper maintenance extends the life of your painted bathroom tiles significantly.
Daily Care
Gentle Cleaning: Use mild, non-abrasive cleaners to preserve the paint surface
Immediate Cleanup: Address spills and splashes quickly to prevent staining
Proper Ventilation: Run exhaust fans during and after showers to minimize moisture exposure
Long-Term Maintenance
Regular Inspections: Check for chips or wear spots monthly
Touch-Up Repairs: Address small issues before they become major problems
Recoating Schedule: Plan for complete repainting every 3-5 years depending on usage
Signs It’s Time for Touch-Ups
Watch for these indicators that your painted tiles need attention:
- Small chips or scratches in high-traffic areas
- Color fading from UV exposure
- Grout line deterioration
- Overall dulling of the finish
Common Mistakes to Avoid While Painting Tiles
Learning from others’ mistakes saves time, money, and frustration in your DIY bathroom tile painting project.
Preparation Shortcuts
Inadequate Cleaning: Skipping thorough cleaning leads to poor paint adhesion
Insufficient Drying Time: Rushing between coats causes peeling and bubbling
Wrong Primer Choice: Using general-purpose primer instead of bonding primer
Application Errors
Too-Thick Coats: Heavy paint application creates texture problems and extends drying time
Poor Ventilation: Inadequate airflow affects drying and can cause finish problems
Ignoring Grout: Failing to address grout lines creates an incomplete, unprofessional appearance.
Also Read Why Does My Bathroom Smell Like Sewage? Common Causes and Solutions
When to Consider Professional Help
While painting bathroom tiles is definitely a DIY-friendly project, some situations benefit from professional expertise.
Complex Layouts
Bathrooms with intricate tile patterns, multiple angles, or challenging-to-reach areas might require professional skills for optimal results.
Extensive Damage
If tiles have significant cracks, loose areas, or underlying moisture issues, addressing these problems before painting might require professional assessment.
Time Constraints
Professional painters can complete the project much faster, which might be worth the additional cost if you need your bathroom functional quickly.
Alternative Options to Consider
While painting bathroom tiles offers excellent results, it’s worth considering other renovation approaches.
Tile Overlays
Thin tile overlays can be installed over existing tiles, providing a completely new surface without removal.
Peel-and-Stick Tiles
Modern peel-and-stick options offer impressive realism and can be installed over existing tiles in many cases.
Complete Replacement
For bathrooms with structural issues or extremely outdated tiles, complete replacement might provide better long-term value.
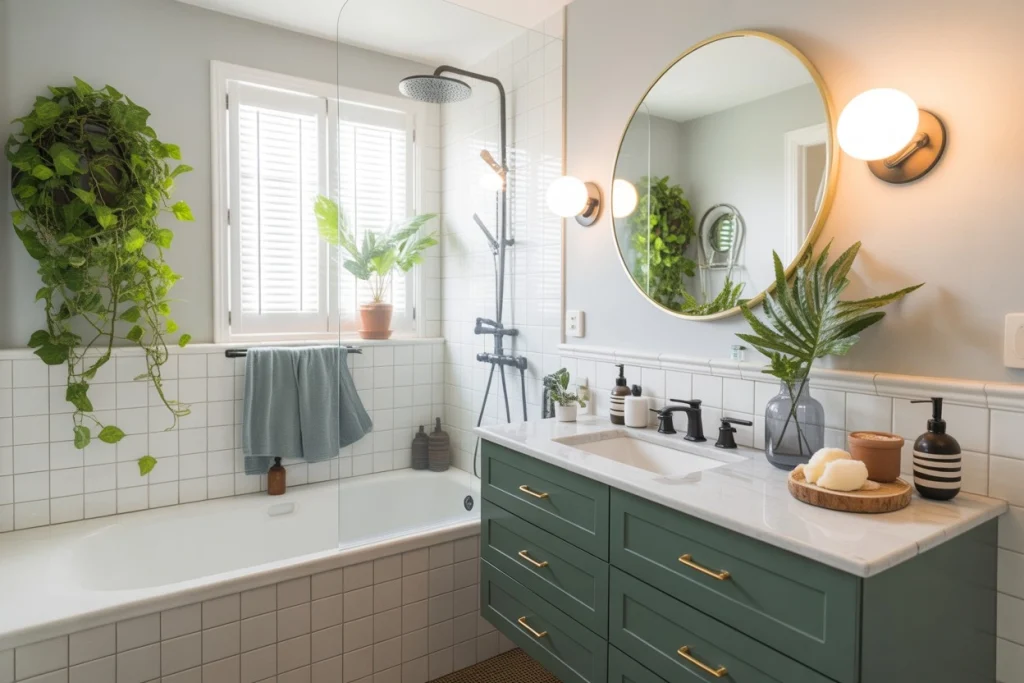
Transform Your Bathroom Today
Painting bathroom tiles offers an incredible opportunity to refresh your space without the expense and disruption of full renovation. With proper preparation, quality materials, and careful technique, you can achieve professional-looking results that last for years.
This budget-friendly bathroom renovation approach puts a stunning bathroom tile makeover within reach of any homeowner willing to invest a weekend in their space. The satisfaction of completing this DIY bathroom tile painting project yourself adds even more value to the transformation.
Ready to start your tile painting journey? Gather your materials, set aside a weekend, and prepare to be amazed by what a little paint can accomplish. Your dream bathroom is just a few coats of paint away.
If you need bathroom renovation or quick-fix services in Austin, our team at Austin Bathroom Remodels is here to provide fast, reliable, and high-quality solutions tailored to your needs.